Activating Let's Encrypt SSL Certificate for Your Website in cPanel
In this tutorial we will walk you activing your Let’s Encrypt SSL certificate in cPanel.
The Let’s Encrypt SSL certificate provides free Transport Layer Security (TLS) encryption for your website. You can activate the Let’s Encrypt SSL certificate in seconds from your cPanel account. Let’s Encrypt SSL certificates are automatically renewed.
To activate the Let’s Encrypt SSL certificate, follow these steps:
- Log in to your cPanel account.
Follow this guide to learn how to access your cPanel account. - Under the Security section, select “Let’s Encrypt SSL”.
Tip: Use the quick search bar at the top of your cPanel account for speedy navigation.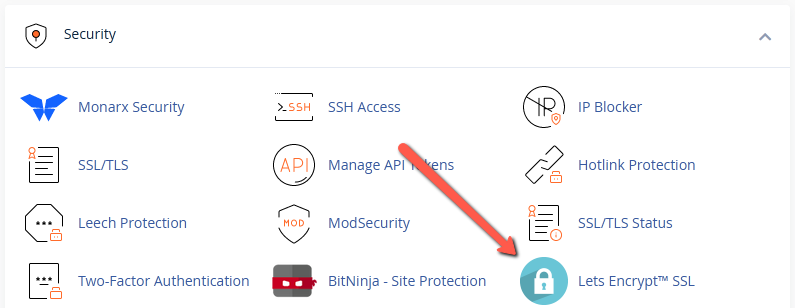
- Under Issue a new certificate, select “+ Issue” next to the domain you want to activate the SSL certificate for.
Note: The Let’s Encrypt SSL certificate can be used on domains and subdomains.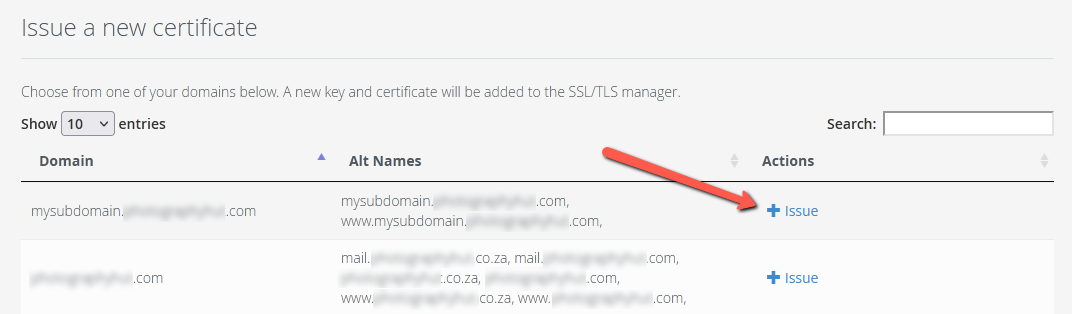
- After confirming the SSL certificate settings, select “Issue”.
In most cases you can use the default settings.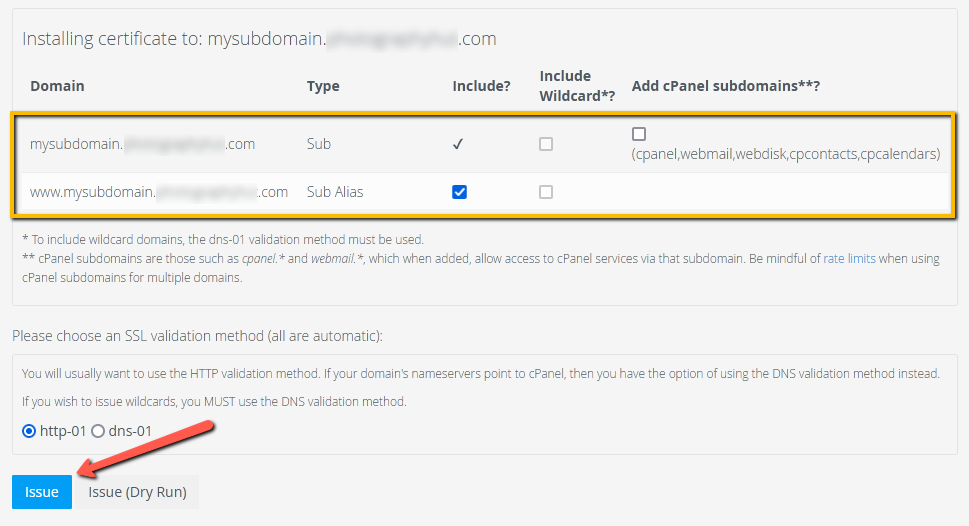
- Congratulations! You have successfully activated your Let’s Encrypt SSL certificate.
