Transferring Your Website to MCloud9
In this tutorial we will walk you through how to request your free website transfer to MCloud9. We will also walk you through the steps to take to perform a manual website transfer using cPanel.
To help make your transition to MCloud9 as seamless as possible, we offer a complimentary website transfer to all our new hosting customers.
Please note the following:
- MCloud9 customers receive one complimentary website transfer within the first 30 days of ordering their hosting.
- Accounts need to be 5GB or smaller when compressed in order to qualify for our free transfer.
- Customers transferring from a cPanel environment will have their entire hosting account restored (incl. emails, databases, etc.) providing we can acquire a full cPanel backup. Customers transferring from a non-cPanel hosting environment will only have their website files and databases restored.
- We currently do not support website transfers from servers running Windows or using PostgreSQL.
- Our website transfer service is provided on a “best effort” basis.
- Special Accommodations: If your transfer needs fall outside the requirements of our complimentary transfer policy we might still be able to assist you but there may be a fee involved based on the level of work required. Please follow the steps below so we can inspect your request and offer possible options.
To request your free website transfer, follow these steps:
- Log in to your MCloud9 Client Portal.
Learn how to access your Client Portal. - Select “Open Ticket” in the side menu then choose “Transfers”.
Alternatively go directly to the Transfer Request Form (you must be logged in to access it).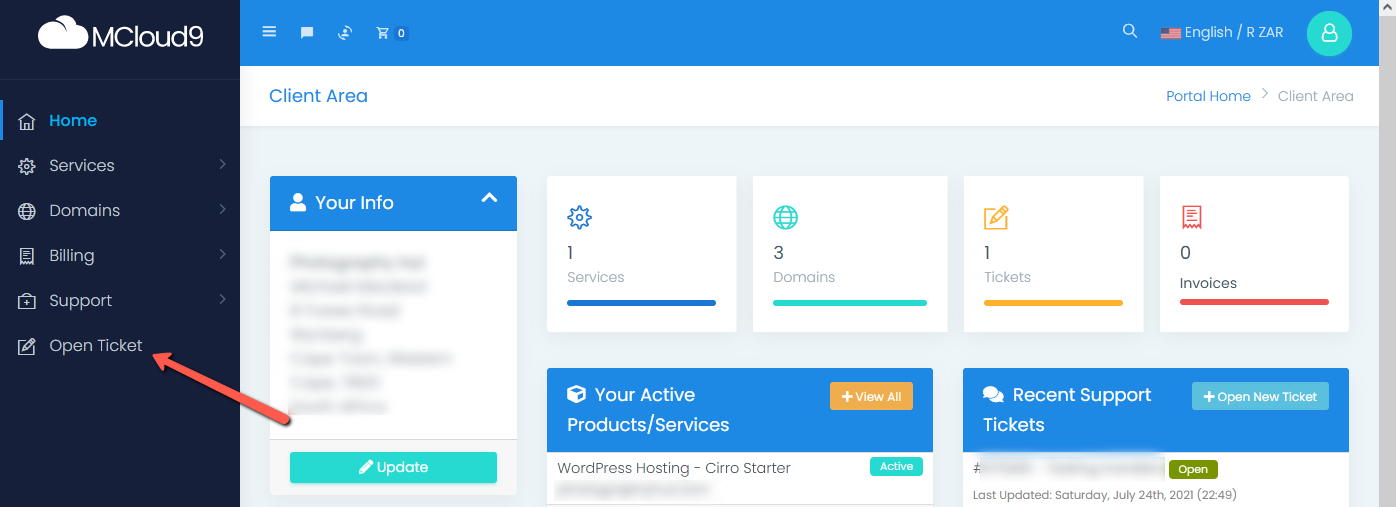
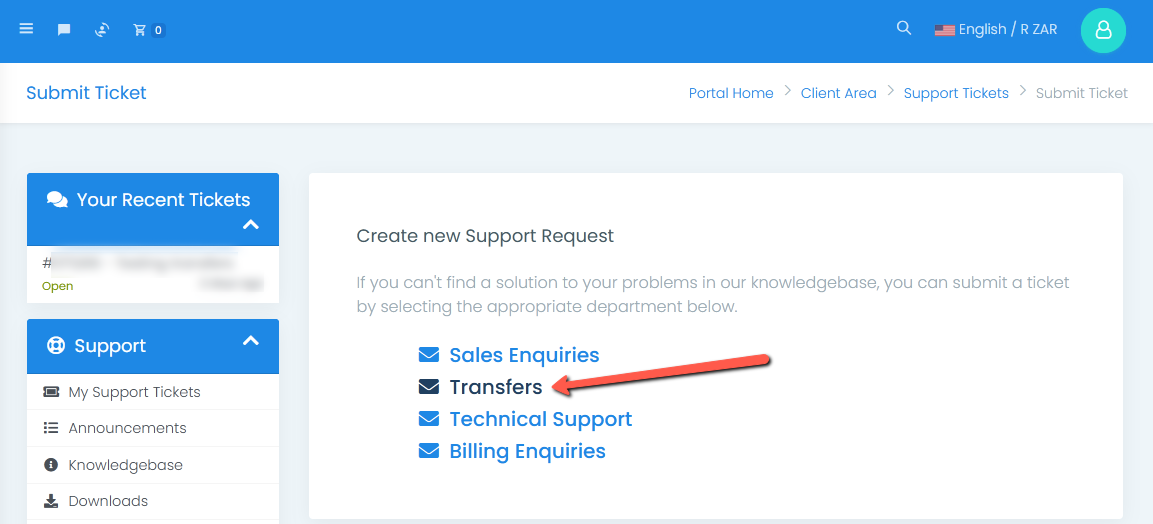
- Complete the form and select “Submit”.
Make sure to fill out all necessary fields.
Note: Transfers can take up to 48 hours to complete. - Congratulations, you have now successfully requested your website transfer!
You should receive an email response letting you know we have received your ticket. You will be notified via email as soon as we have finished transferring your website.
To transfer your website manually using cPanel, follow these steps:
- Log in to your cPanel account at your old web host and select “Backup”.
- In the Partial Backups section, select the “Home Directory” button below “Download a Home Directory Backup”.
This will download a compressed file containing your entire home directory.
Tip: Make a note of the name of this file and where on your computer it has downloaded to.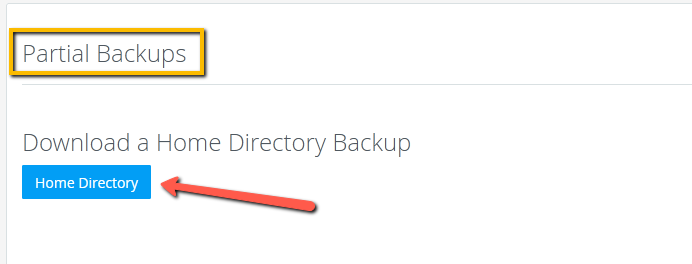
- Select your database(s) below “Download a MySQL Database Backup”.
This will download a compressed version of your MySQL database(s).
Tip: Make a note of the name of this file(s) and where on your computer it has downloaded to.
Note: If you have set up any email forwarders and email filters you can download these in the same way as the MySQL Database Backup.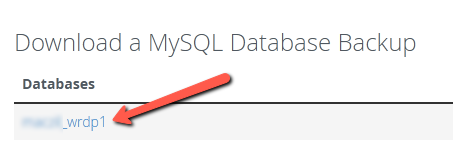
- Log in to your MCloud9 cPanel account and select “Backup”.
Learn how to access your cPanel account.
- Restore your Home directory backup.
In the Partial Backups section, upload your Home Directory Backup by selecting the “Browse” button (below “Restore a Home Directory Backup”) and choosing your downloaded Home Directory Backup.
After attaching that file, select the “Upload” button.
Note: If the compressed file is too large to upload then you may need to uncompress it on your computer and upload the files through an FTP Client.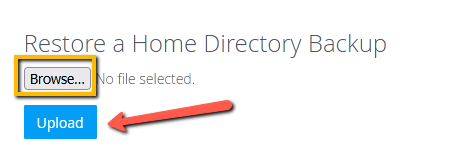
- Restore your MySQL database backup(s).
Upload your MySQL Database Backup by selecting the “Browse” button (below “Restore a Restore a MySQL Database Backup”) and choosing your downloaded MySQL Database Backup.
After attaching that file, select the “Upload” button.
If you have multiple MySQL database backups you will need to upload each one individually.
Note: If the compressed file is too large to upload then you may need to uncompress it on your computer and upload the files through an FTP Client.
Note: If you have downloaded any email forwarders and email filters you can upload these in the same way as the MySQL Database Backup.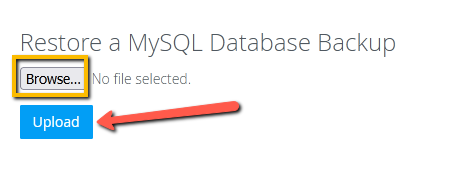
- Congratulations, you have now successfully transferred your website!
If you have any difficulties while performing a manual transfer you can either have us help you by completing the Transfer Request Form or reach out to our Technical Support for assistance (you must be logged in to access our priority ticket support) .
