Getting Help Through Support Tickets
In this tutorial we will walk you through getting help through our priority support ticket system.
All MCloud9 customers have access to our priority 24/7 ticket support service. If you are unable to find the answers you are looking for from our ever-expanding MCloud9 Knowledgebase, feel free to reach out to us anytime.
If you need assistance with a billing enquiry, technical support, website transfer, or anything else, our team is more than ready and happy to help you out.
Ensuring your tickets get resolved timeously is our top priority. Most tickets are resolved within 24 hours.
To create a support ticket, follow these easy steps:
- Log in to your Client Portal.
Follow this guide to learn how to access your Client Portal.
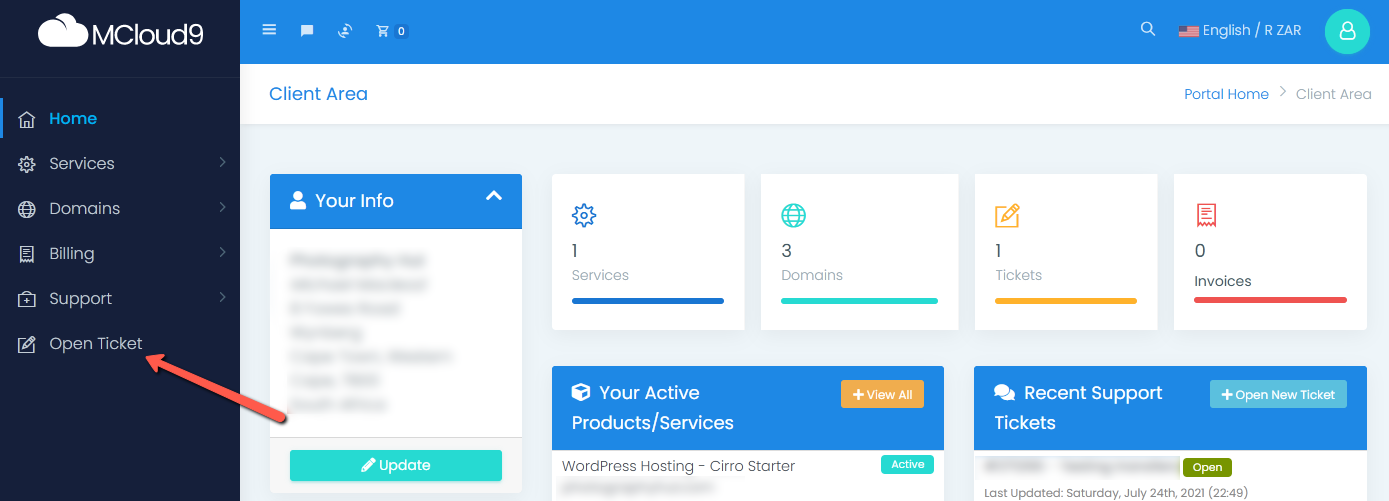
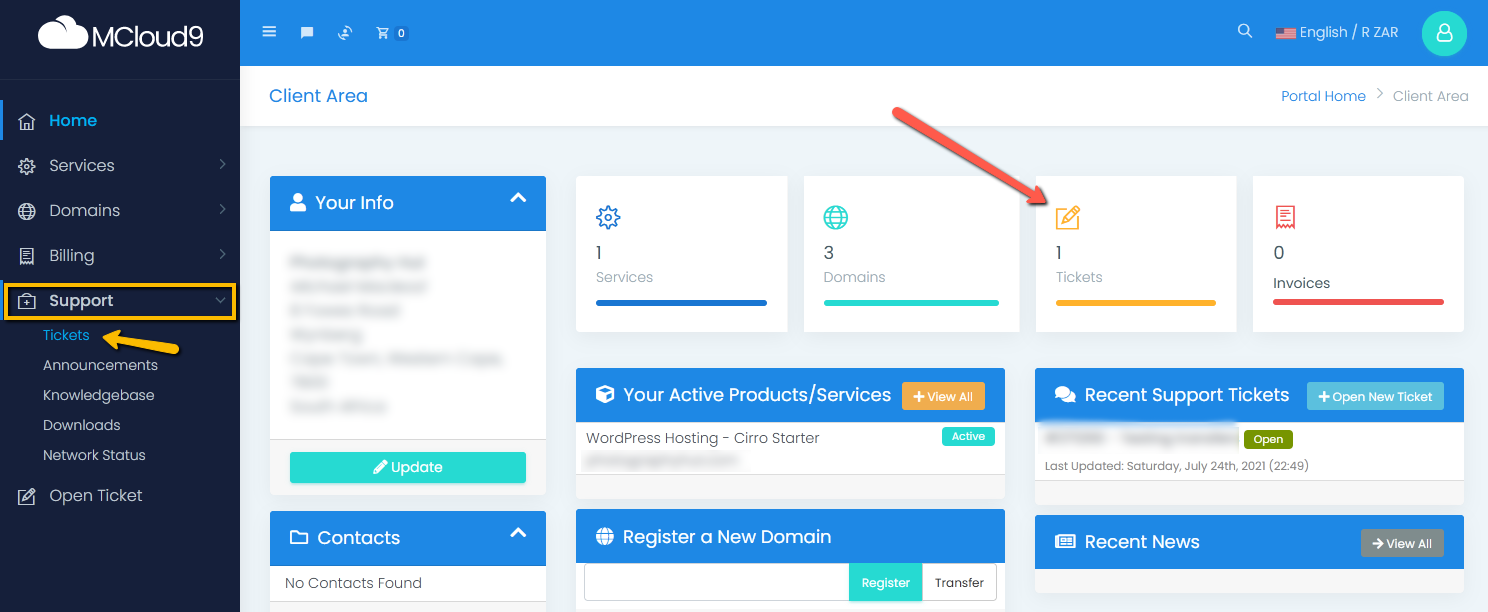
Note: You must log in to create a priority support ticket. - Select “Open Ticket” from the side menu.
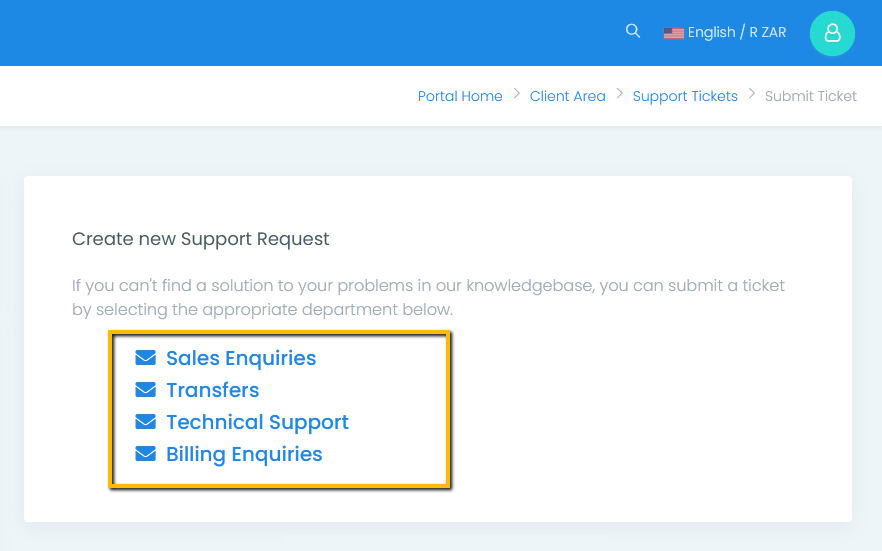
- Select the appropriate department.
- Complete the ticket form and choose “Submit”
Be sure to choose the related product/service from the “Related Service” dropdown, if applicable.
One of our team members will follow-up with your issue momentarily.
Tip: Describe your problem/query as best you can and, if possible, upload any screenshots you can showing the problem.
- Congratulations, you have now successfully submitted your ticket!
You should receive an email response letting you know we have received your ticket.
You will be notified via email as soon as we have resolved/responded to your ticket.
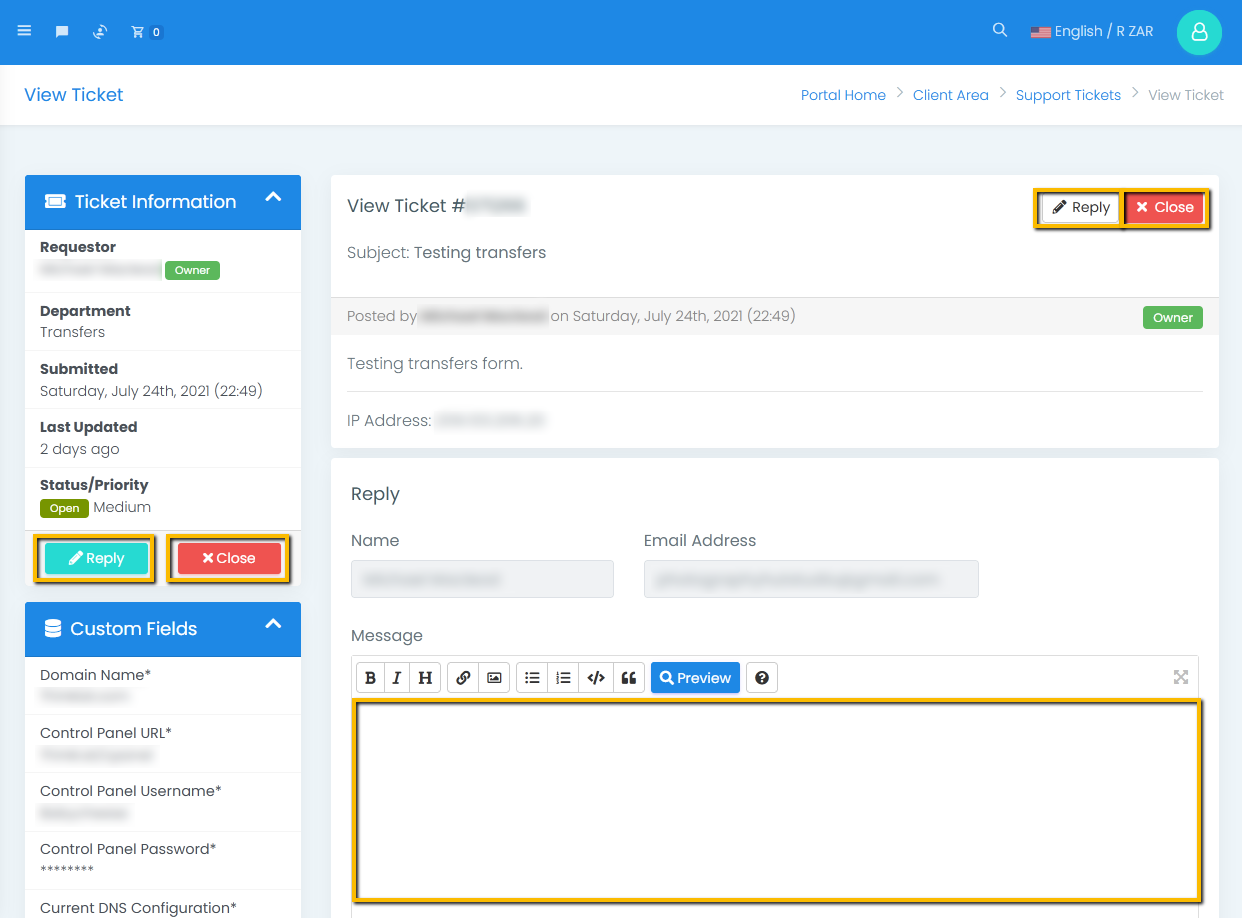
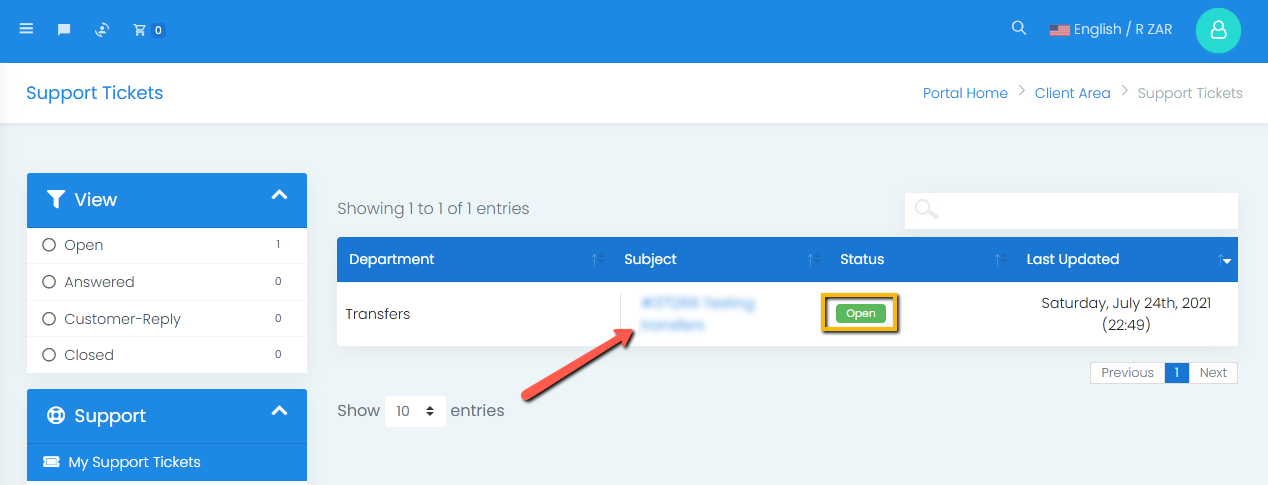
To view a support ticket, follow these steps:
- Log in to your Client Portal.
Follow this guide to learn how to access your Client Portal. - Select the “Tickets” box (or select “Support” from the side menu and choose “Tickets”).
- This will display a list of all your tickets along with their statuses. Select a ticket to view it.
- Reply to the ticket by selecting the “Reply” option or “Close” the ticket if it has been resolved.
If you reply to a ticket, select “Submit” to send to
Note: You can always reopen a closed ticket simply by replying to it.