Registering a Domain
In this tutorial we will walk you through how to register your domain with MCloud9.
The first step to launching any website is registering a domain. A domain is the address people will use to visit your website (e.g. www.google.com).
Note: If you have an existing domain with another registrar/hosting company and wish to move it to MCloud9, see our tutorial on Transferring Your Domains to MCloud9.
To register a domain, follow these steps:
- From the MCloud9 Home page, select the "Domains" tab from the top navigation and choose "Register Domains".
Alternatively, go straight to www.mcloud9.co.za/register-a-domain.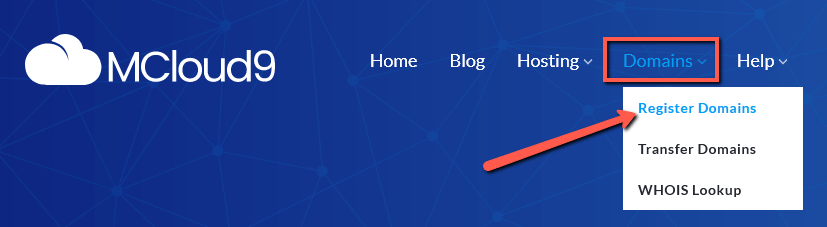
- Enter your desired domain name in the domain search bar and select "Search".
You can choose to enter your domain with, or without, a domain extension (e.g. ".com") - see a full list of supported domains.
Note: You can also access this domain search bar on our Home page (www.mcloud9.co.za).
- The search results will appear shortly. Select the “Order Now” button for your chosen domain.
If the domain is unavailable there won't be an option to order (you can find out details about the registered domain using our free WHOIS Lookup tool).
You can try searching for a different domain or use the same domain with a different domain extension (e.g. ".net").
Note: Take advantage of our free 1-year ".co.za" domain offer when purchasing your first 12-month hosting plan with us.
- On the Domains Configuration page select "Continue".
Also on this page you can add hosting, if desired, and configure the domain nameservers (keep the default settings if you plan on hosting with MCloud9).
You can always access and change your nameservers via the Client Portal.
Note: The free 1-year ".co.za" domain offer will only be applicable if hosting has been added.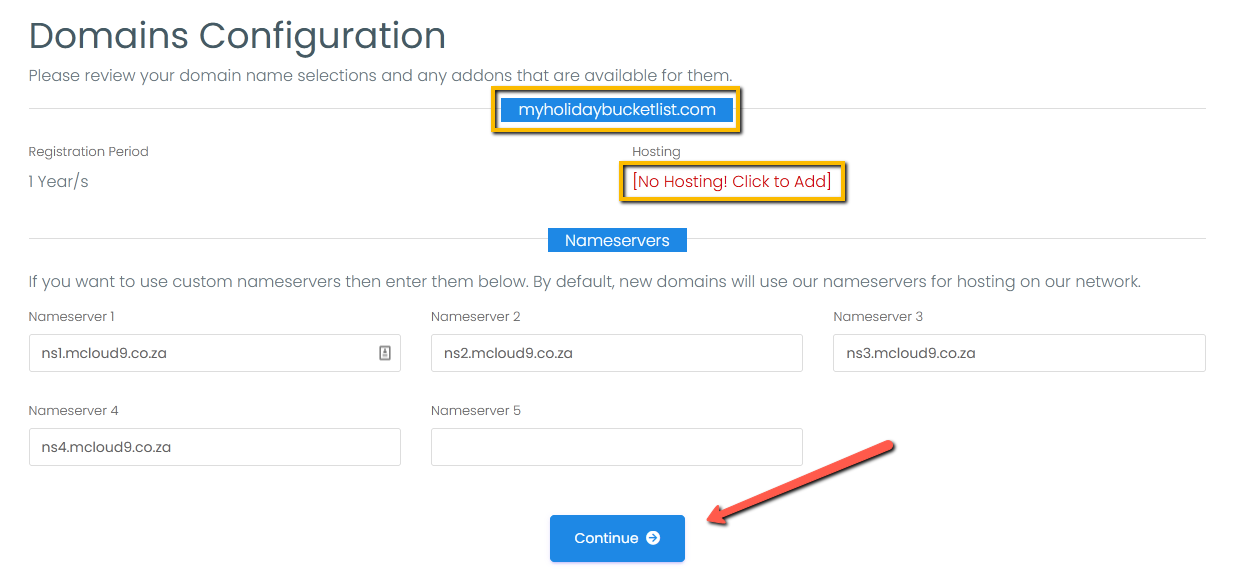
- Review your order and select "Checkout".
You can edit or remove any items by selecting the "edit" button or the "x" (remove) icon .
You can adjust the duration you want to purchase the domain for, if applicable, using the drop-down (below the line total).
If you have a promo code then you can enter it in the field provided.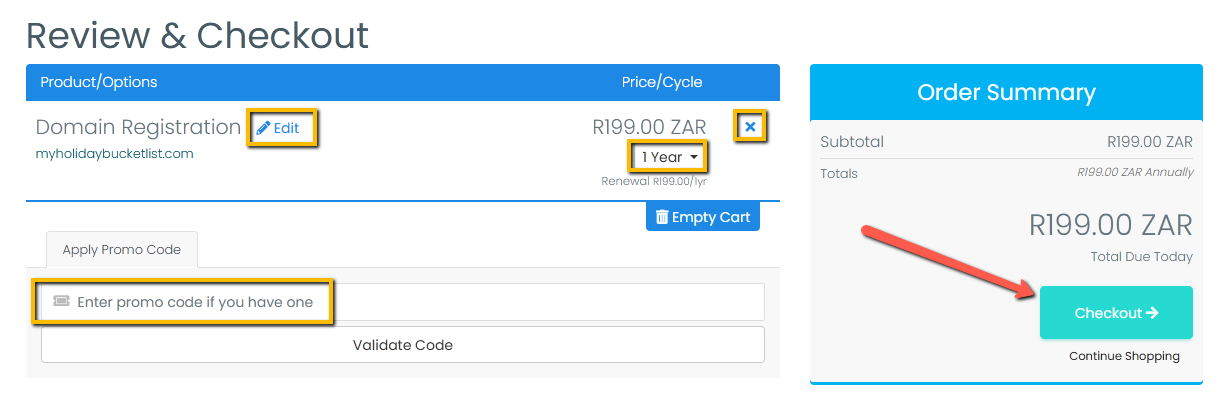
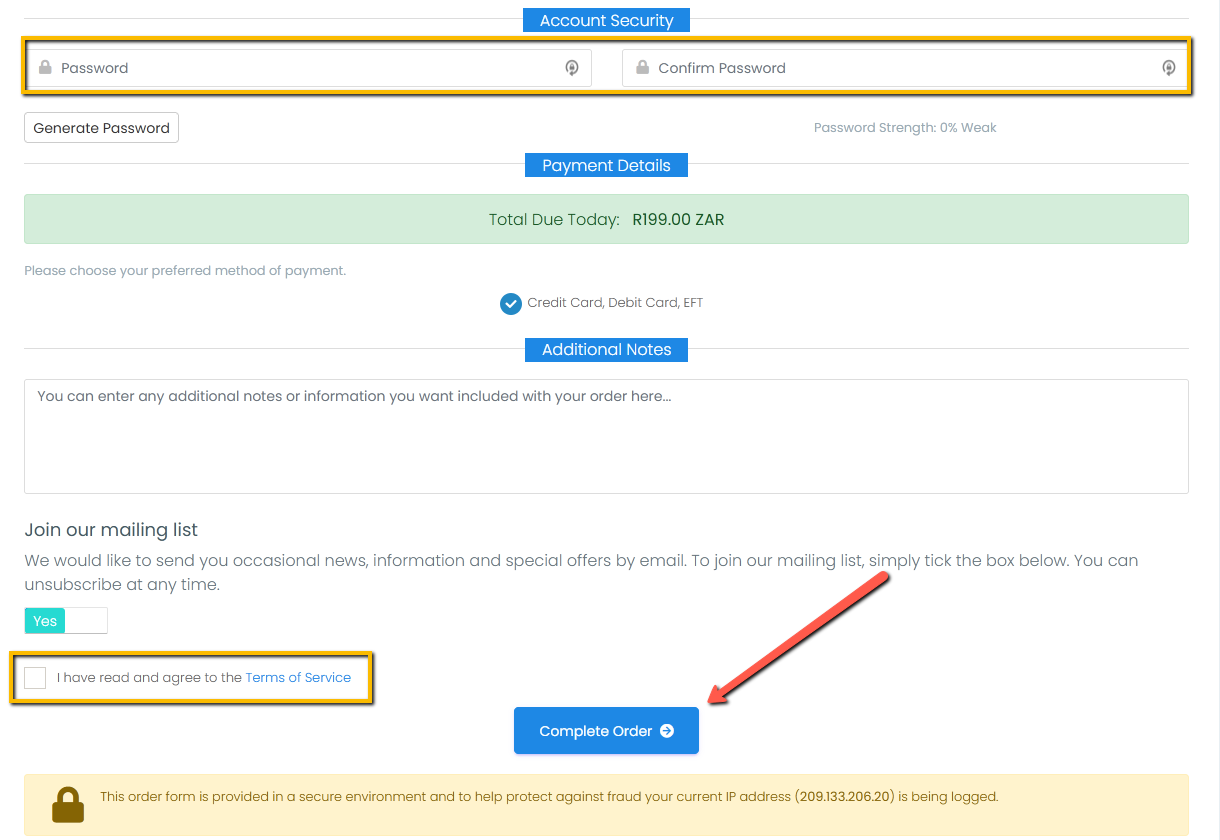
- On the Checkout page, fill in the required details and tick the agree to Terms of Service box then select “Complete Order”.
Note: If you already have an account with us, select "Already Registered" to login and have your details automatically filled in.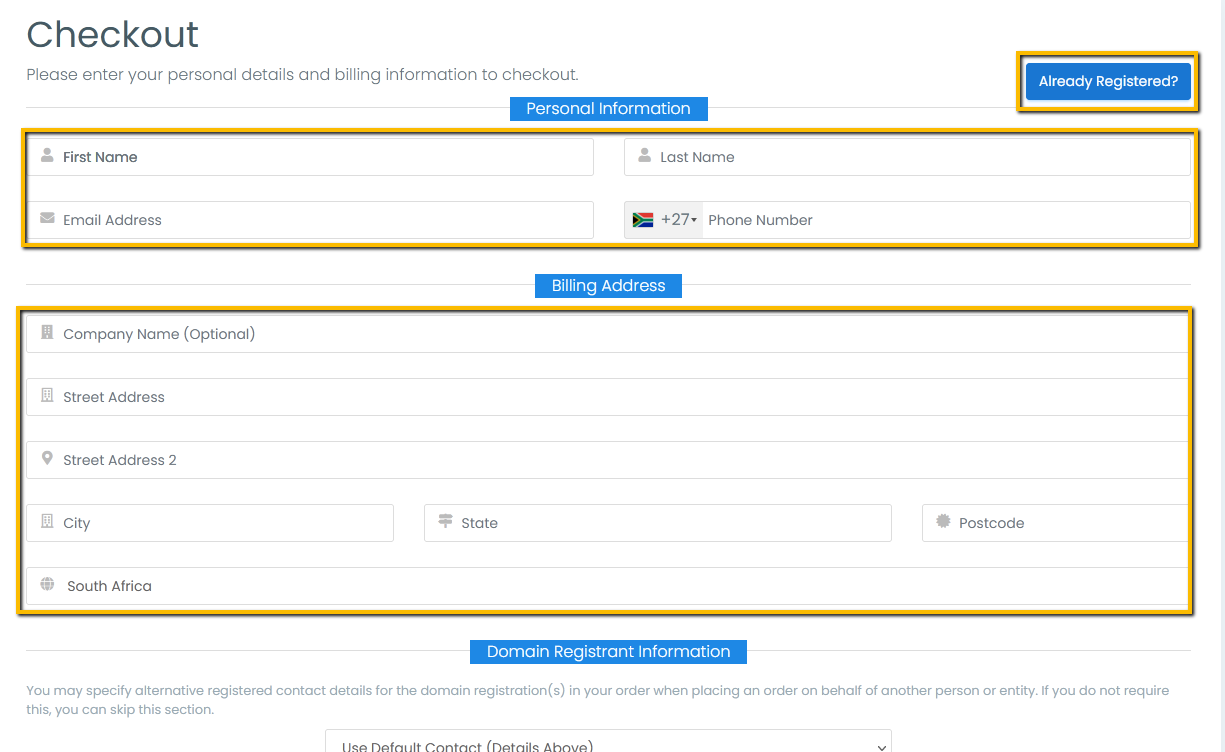
- To pay your invoice, select one of the two payment options: "Pay (automatic renewal)" or "Pay (manual renewal)".
The "Pay (automatic renewal)" option will automatically renew your services before they expire.
The "Pay (manual renewal)" option will require you to manually renew your services before the expire (re-entering your payment details each time).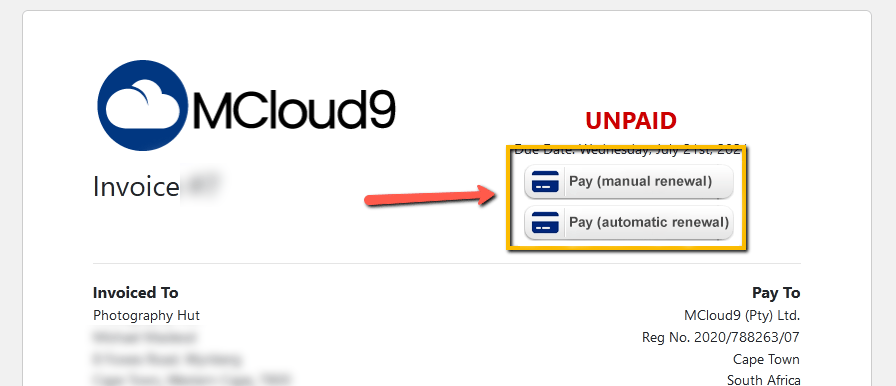
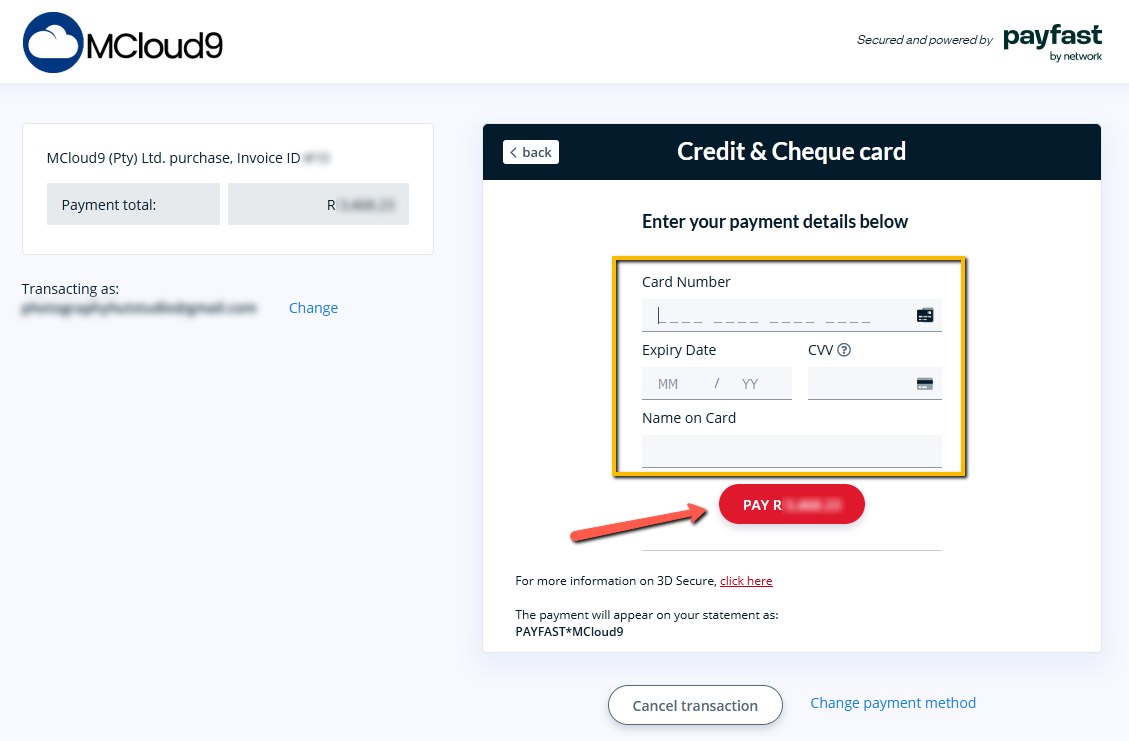
- After being redirected to our secure payment gateway, select your payment method (credit card, debit card, etc.) and complete the payment.

- Congratulations, you have now registered your domain!
After successfully completing the payment you will be redirected back to the paid invoice.
You will also receive an email with your invoice and links to your Client Portal where you can manage your services.
