Setting Up a WordPress Staging Environment
In this tutorial, we will walk you through setting up a staging environment for your WordPress website.
A staging environment allows you to create a clone of your entire WordPress website and database so that you can make changes and updates to it without affecting your live website.
Once you have finished making changes and testing everything you can push the staging website live which will replace your live website with the staging website.
Tip: It is best practice to set up a staging environment on a subdomain. You can learn how to set up a subdomain here.
To set up a staging environment, follow these steps:
- Log in to your cPanel account.
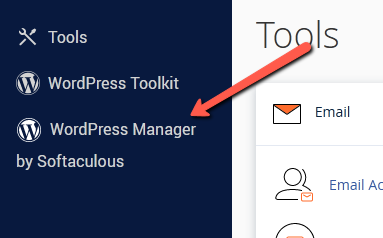
Follow our guide to learn how to access your cPanel account. - Access “WordPress Manager by Softaculous” either via the sidebar:
or under the Software section: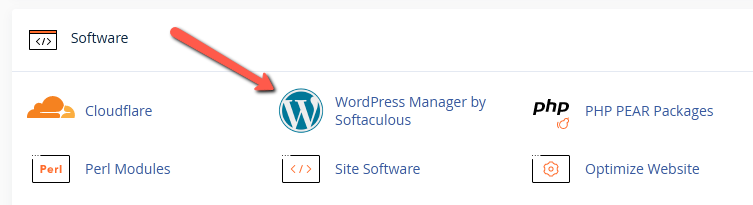
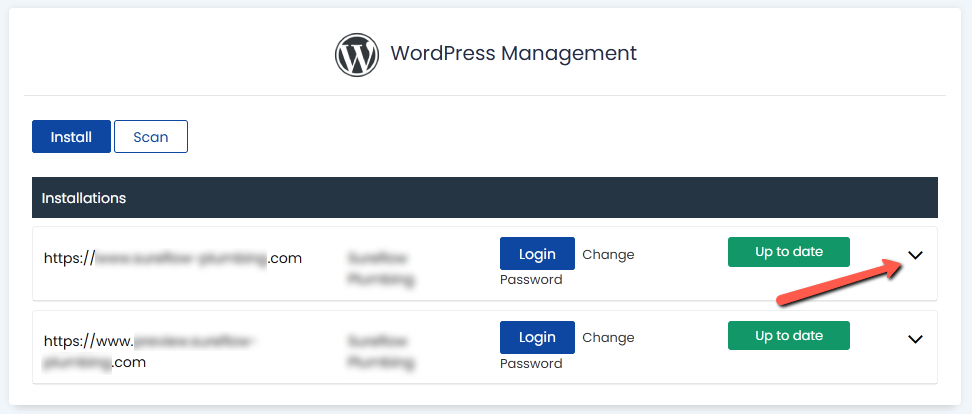
Tip: Use the quick search bar at the top of your cPanel account for speedy navigation. - Find the WordPress website you want to set up staying for, then select the dropdown arrow (on the right).
- Select “Staging” near the bottom of the page.
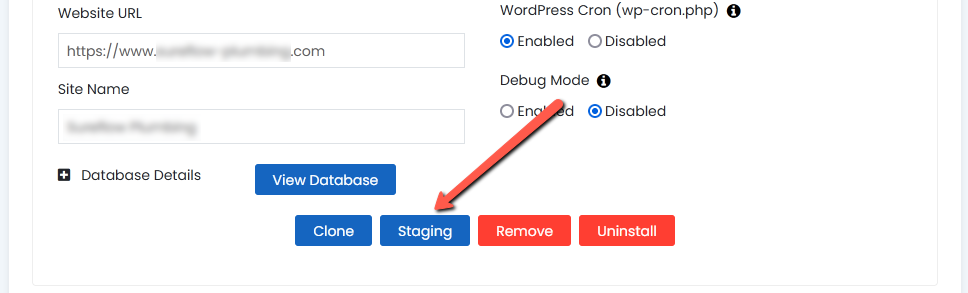
- Fill out the staging installation details, then choose “Create Staging” (bottom of the page).
Select the domain/subdomain you want to install the staging website on.
You can also specify a subdirectory for the installation or leave it blank to create the staging in the root of that directory.
The Database Name can be left as default and you can leave the “Site Name” blank to use your current site name (under the Site Settings section)
Note: You may want to disable search engine visibility (under the Site Settings section) if you don’t want search engines to see your staging environment.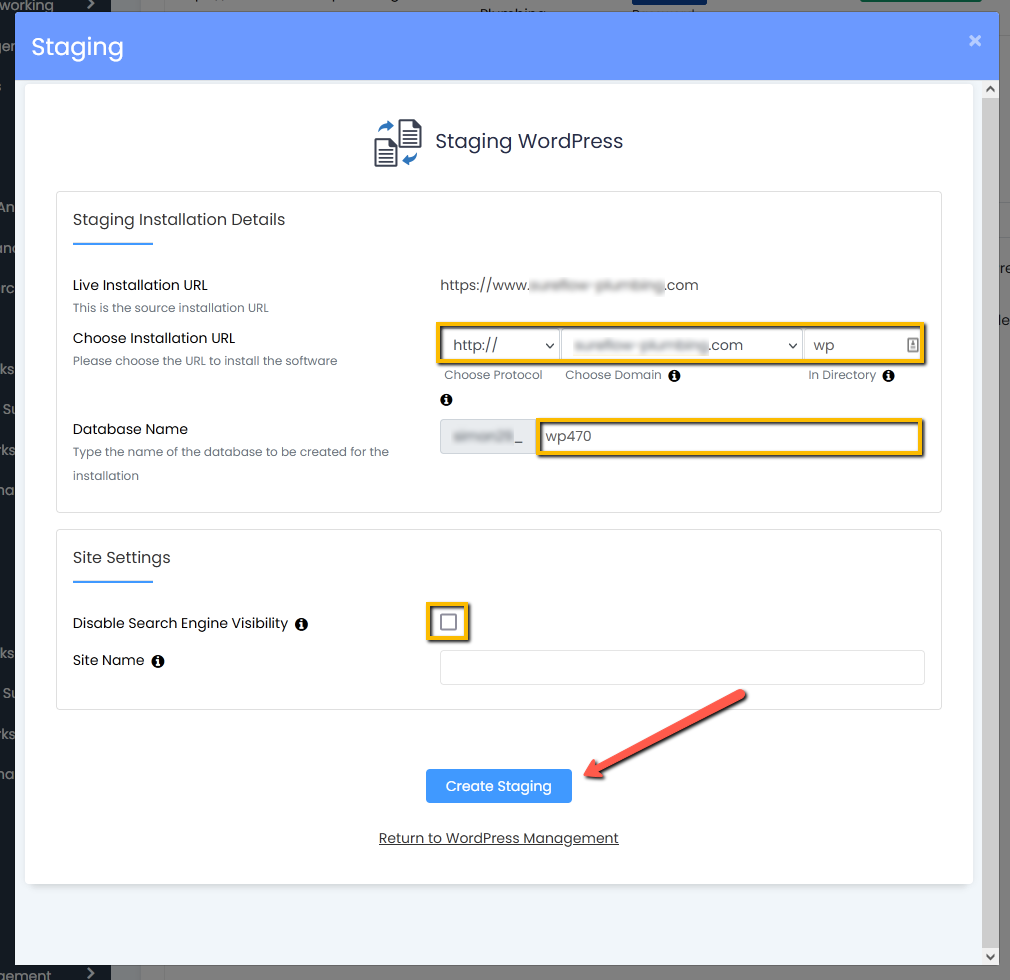
- Pushing the staging website to live:
Go to the “WordPress Manager by Softaculous”.
Select the dropdown arrow next to the staging environment (on the right).
Select “Push to Live” near the bottom of the page. It’s that easy. - Congratulations! You have successfully set up a staging environment for your WordPress website.
Once the installation has completed you will be presented with the links to access your front and backend of the staged WordPress website.
Tip: Bookmark these links for easy access in the future.
