Changing Your WordPress Upload Limit
In this tutorial we will walk you through two methods of changing your WordPress upload limit.
At MCloud9 we have tried to simplify the process of changing your server settings to provide the optimal experience for your websites. With a lot of web hosts you would have to create PHP configuration files to change these settings but at MCloud9 you can change these settings with a few clicks, no coding required.
We will show you two methods for changing your upload limit.
Method 1: Using MultiPHP INI Editor
To change your WordPress upload limit, follow these steps:
- Log in to your cPanel account.
Follow our guide to learn how to access your cPanel account. - Under the Software section, select “MultiPHP INI Editor”.
Tip: Use the quick search bar at the top of your cPanel account for speedy navigation.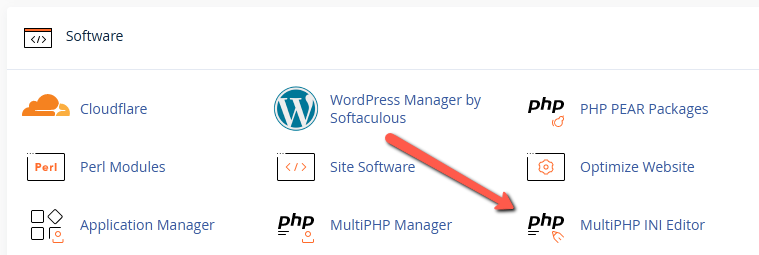
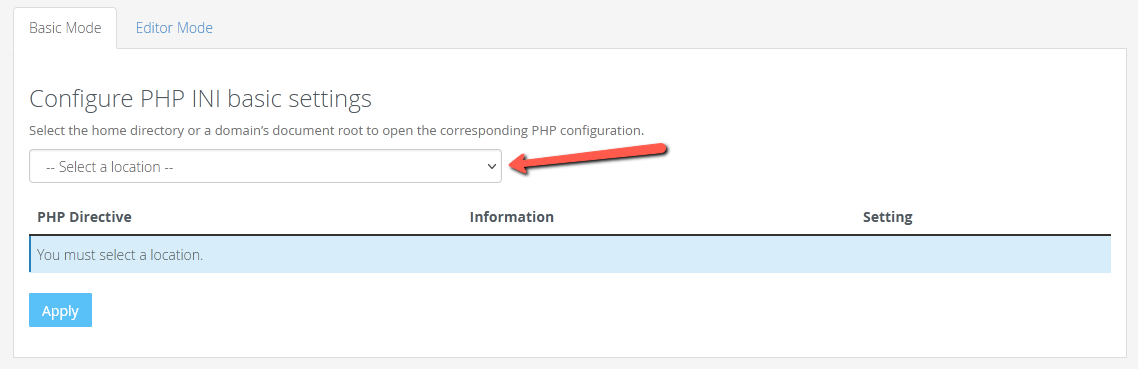
- Select your domain from the dropdown menu.
- Set your desired values for “upload_max_filesize” and “post_max_size”, then click “Apply”.
Value options include: 2M, 4M, 8M, 16M, 32M, 64M, 128M, 256M, 512M.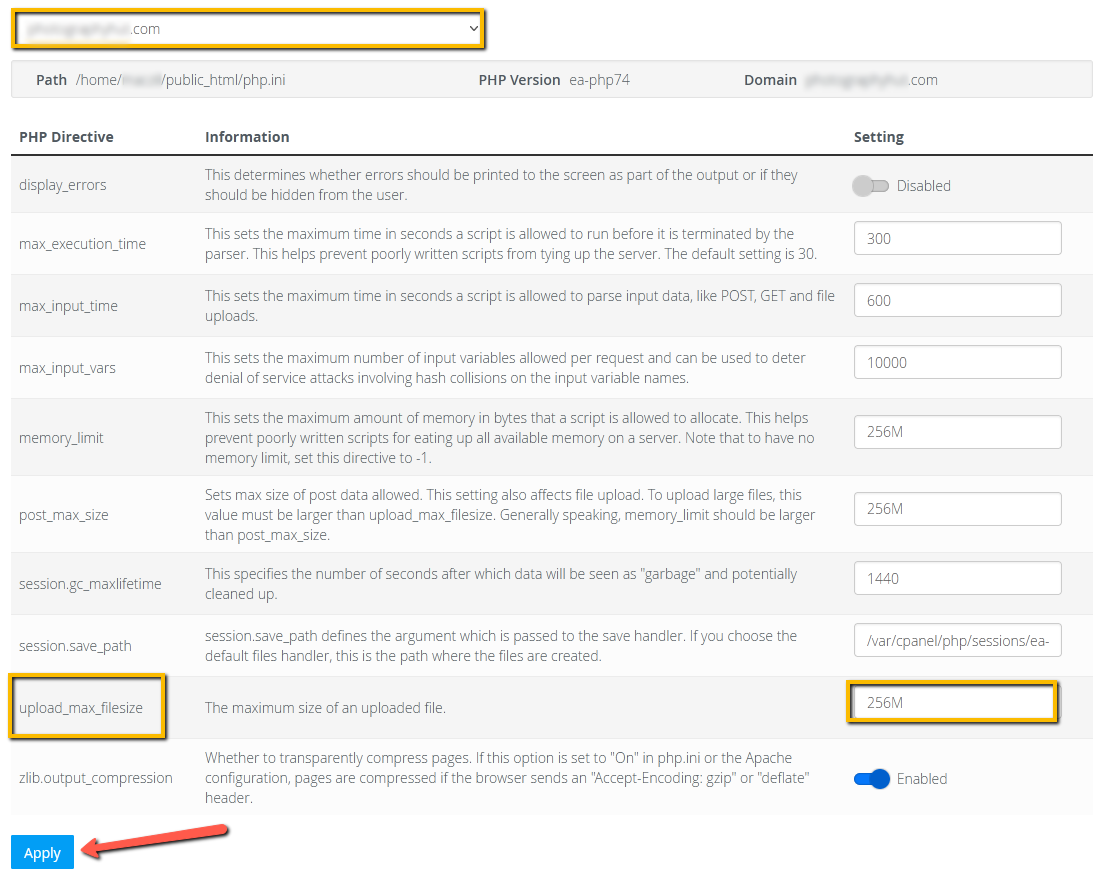
- Congratulations! You have successfully changed your WordPress upload limit!
Method 2: Using Select PHP Version
To change your WordPress upload limit, follow these steps:
- Log in to your cPanel account.
Follow our guide to learn how to access your cPanel account. - Under the Software section, select “Select PHP Version”.
Tip: Use the quick search bar at the top of your cPanel account for speedy navigation.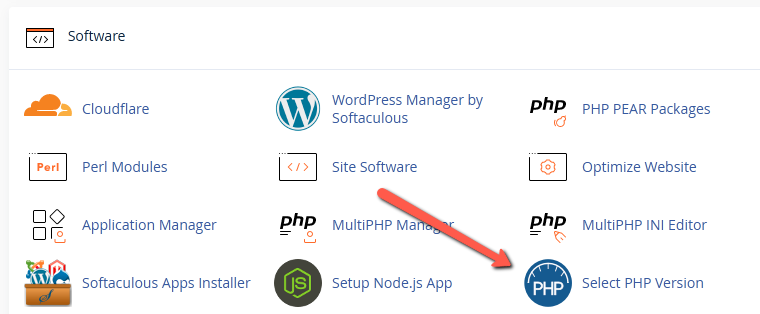
- Assuming your domains are handled by the PHP Selector, select the “Options” tab at the top.
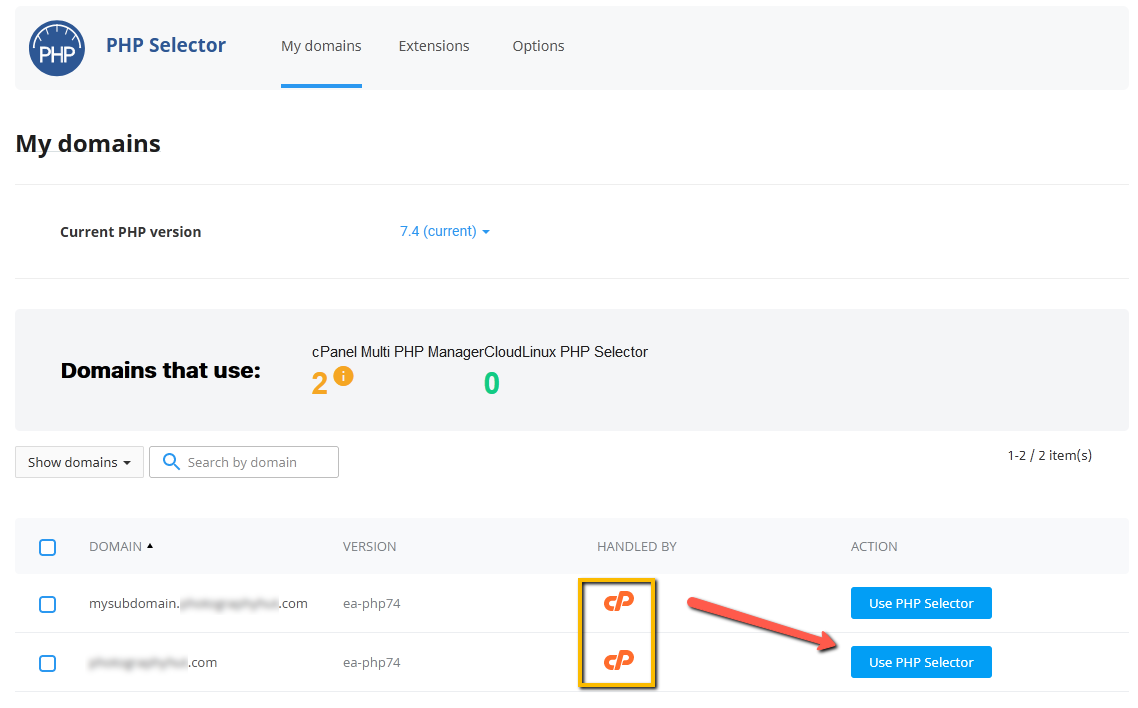
If your domain(s) is handled by the MultiPHP Manager then you will need to change it by selecting the “Use PHP Selector” button.
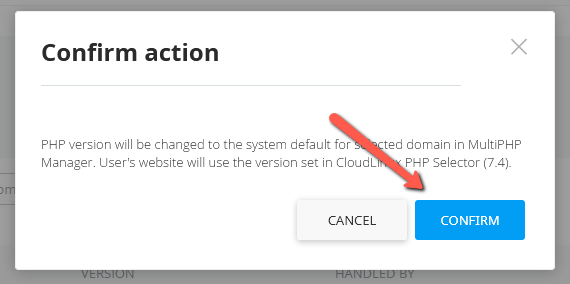
You will then need to confirm this action by selecting “Confirm”.
Note: If you have any difficulties with PHP Selector, please contact our priority Technical Support department so we can assist (make sure to log in to your Client Portal first).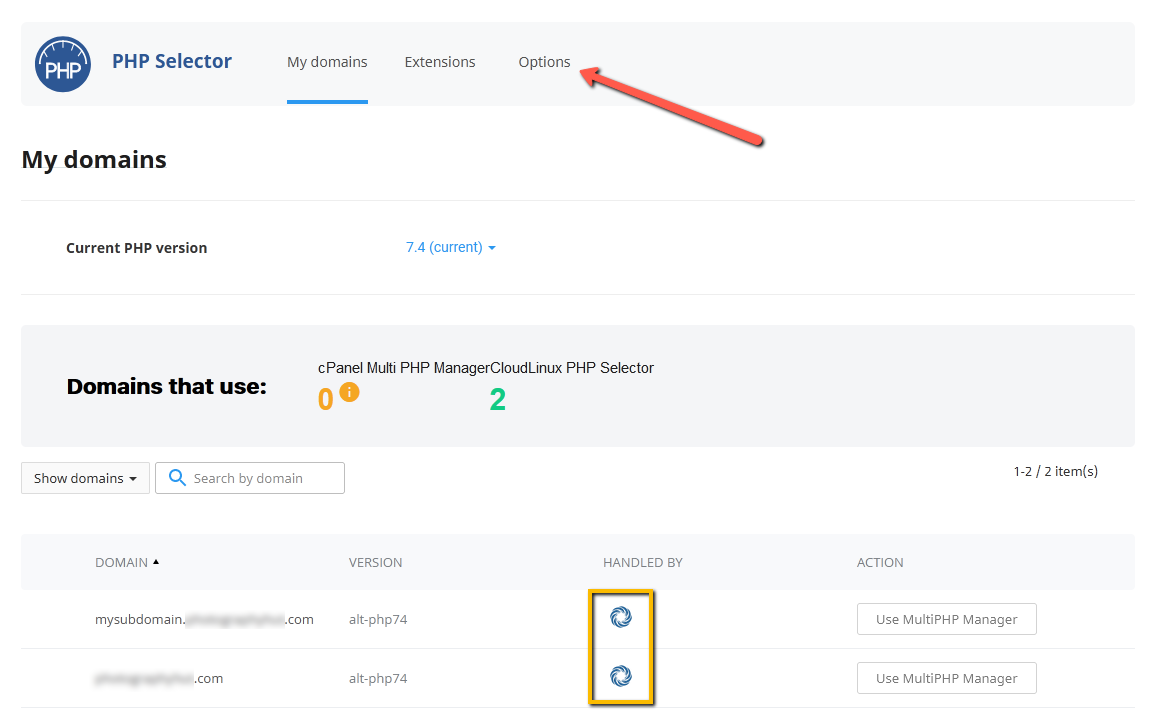
- Change the “post_max_size” and “upload_max_filesize” settings as desired.
Note: The settings are automatically applied after being changed.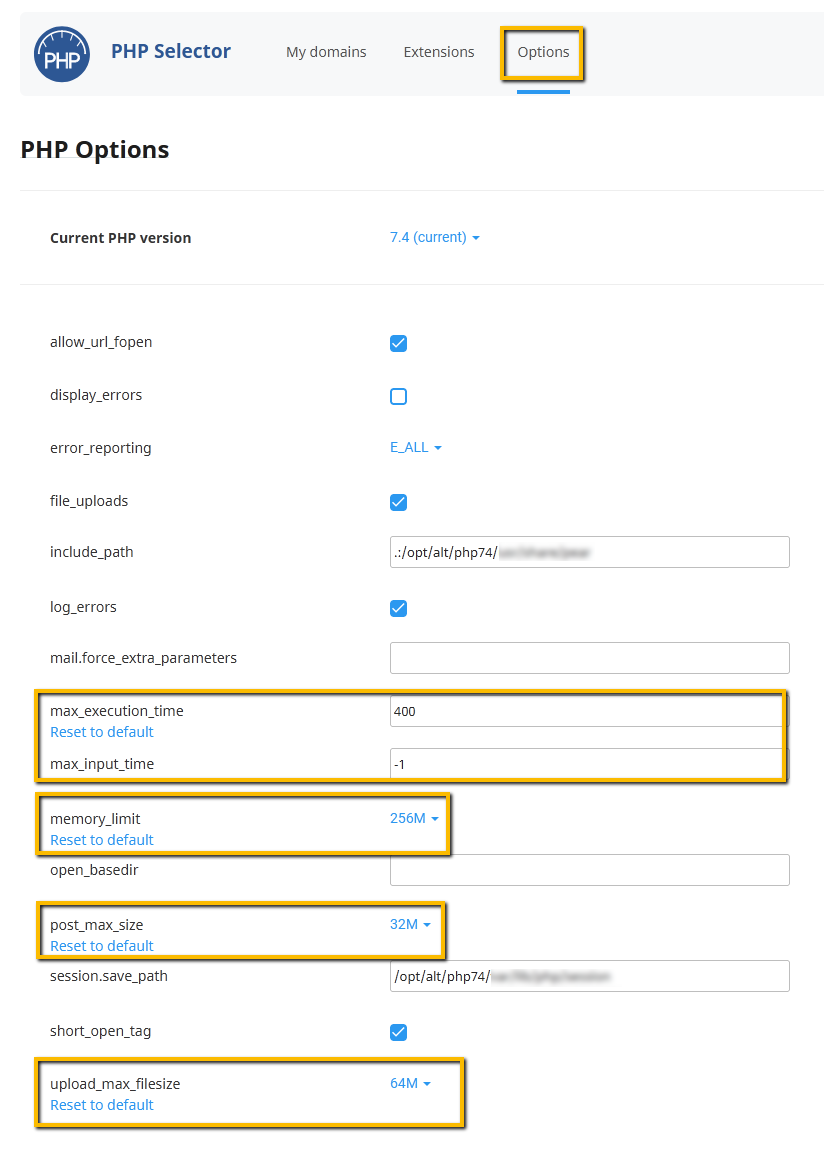
- Congratulations! You have successfully changed your WordPress upload limit!
