Creating a Website & Adding a Theme with Website Builder
In this tutorial, we will walk you through how to create your website and choose a theme using our website builder.
With our drag-and-drop website builder it’s as easy as ever to create your own website.
Choose from over 800 themes to find the perfect style that suits your needs and modify it however you like with no coding skills required.
To install create your website, follow these steps:
- Log in to your cPanel account.
Follow our guide to learn how to access your cPanel account. - Under the Software section, select “SitePad Website Builder”.
Tip: Use the quick search bar at the top of your cPanel account for speedy navigation.
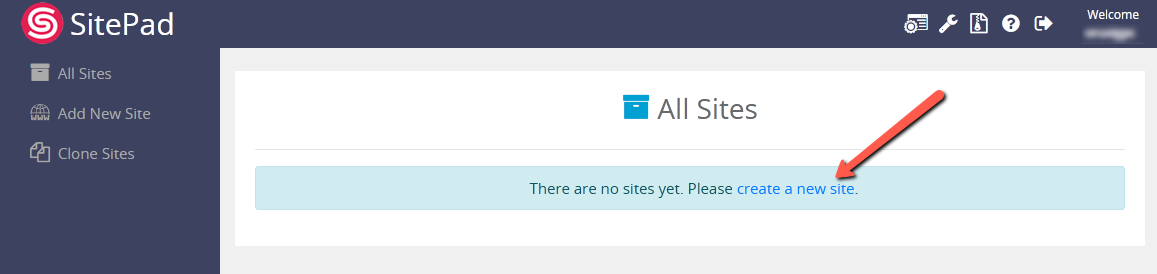
- If this is the first time using SitePad, select “create a new site”.
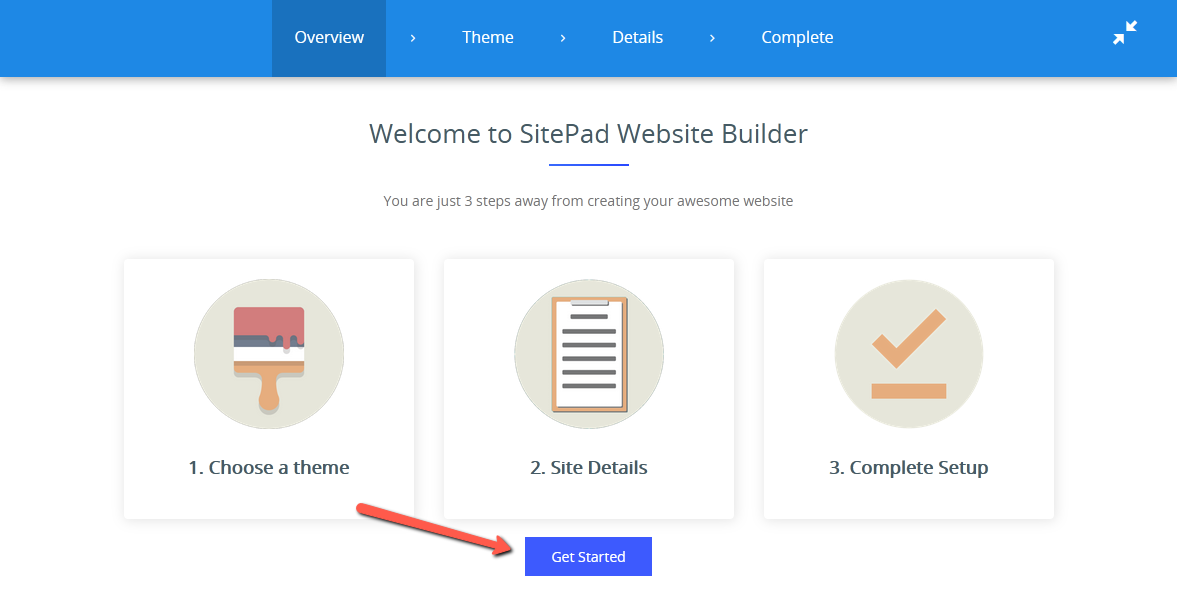
- Select the “Get Started” button.
- Browse through the themes and select a theme for your website by choosing the green “Select” button.
You can enlarge a thumbnail by hovering over it and choosing “Show Theme”, you can also interact with the theme by pressing “Demo”.
Tip: Use the search bar at the top and the Categories in the sidebar to quickly find specific themes and theme categories.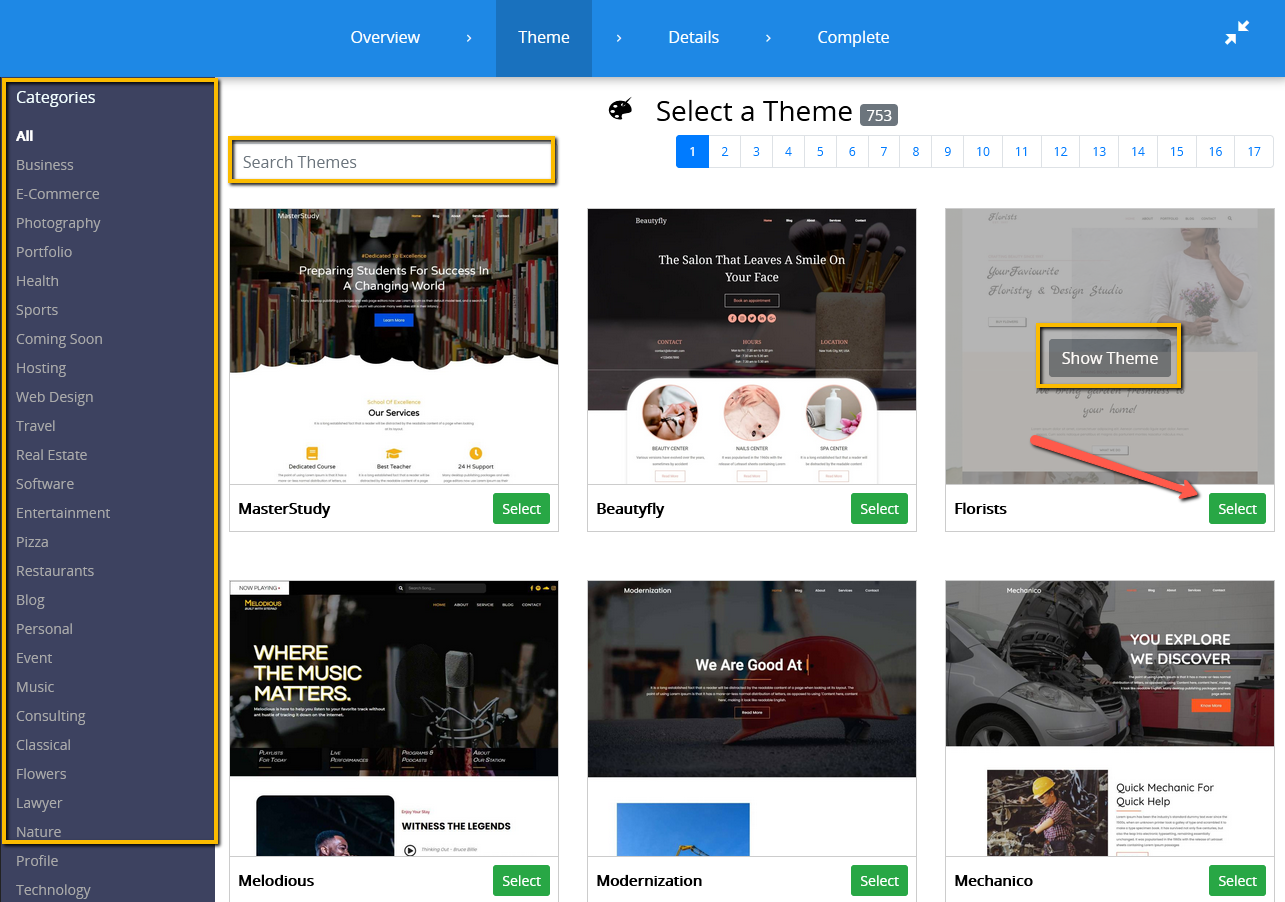
- Fill in the details for your website, then select “Proceed with Install”.
See descriptions of the details below. All details are optional and can be added/edited later.
Under the Site Details section:
Site Address: This is the address visitors will use to view your website.
Admin Email: Enter the email address you want admin emails to be sent to.
Site Title: The main title of your website (e.g. your business name).
Description: A short description of your website/business.
Site Language: The default language that the website should use.
Under Contact Details:
Email Address: The address that visitors will use to contact you.
Phone: The number visitors will use to contact you.
Address: The address visitors can use to view your location.
Social Media: Enter your Facebook, Twitter and any other social media links you have for your business.
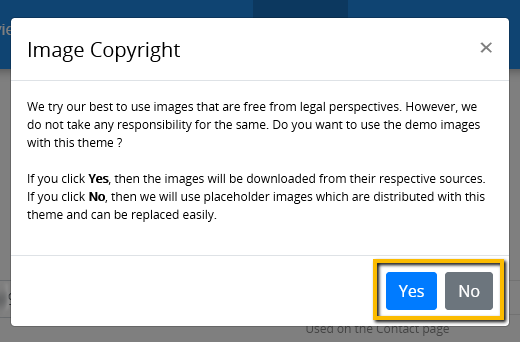
Note: For the Image Copyright pop-up, select “Yes” if you want to use the theme’s default images or “No” if you plan on using your own custom images.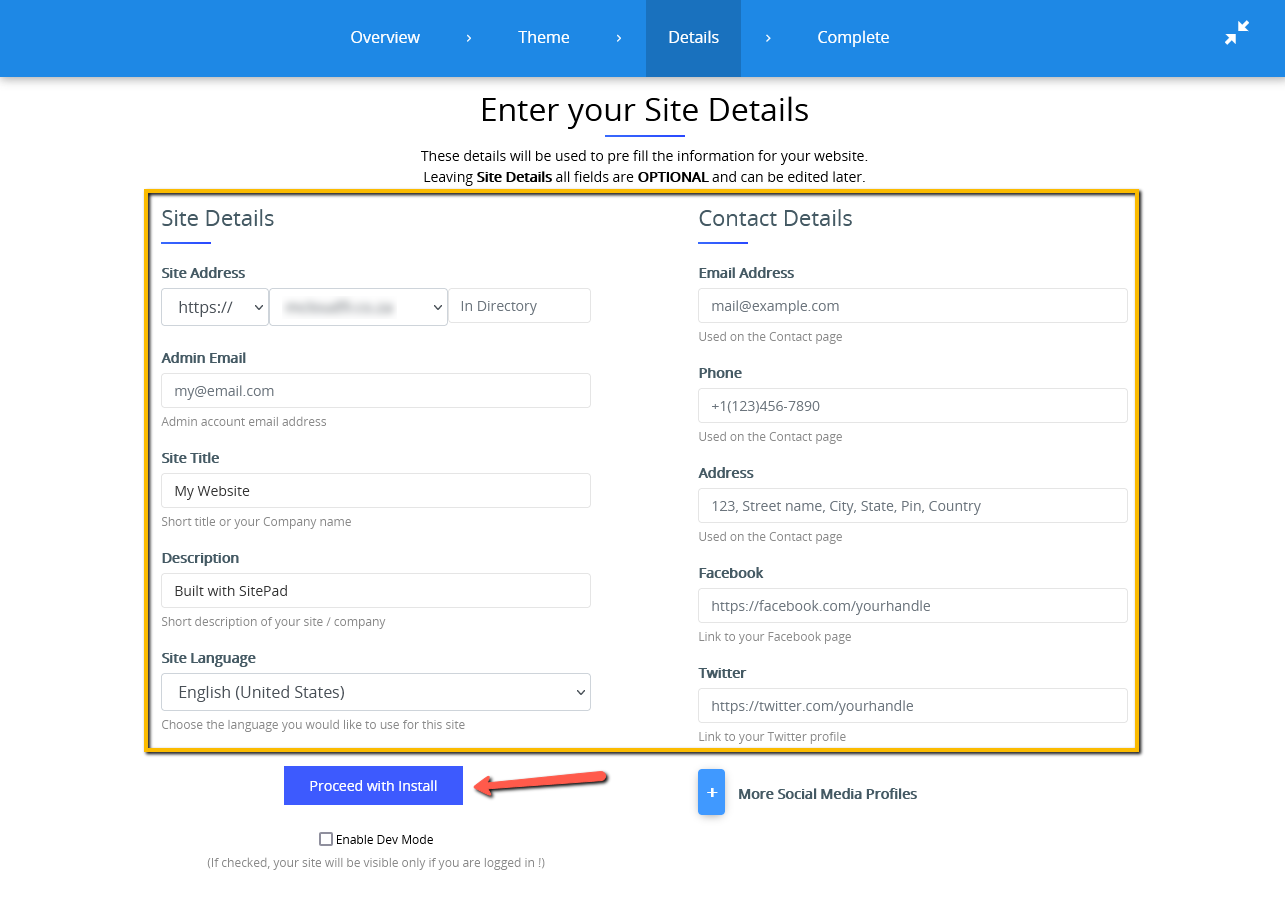
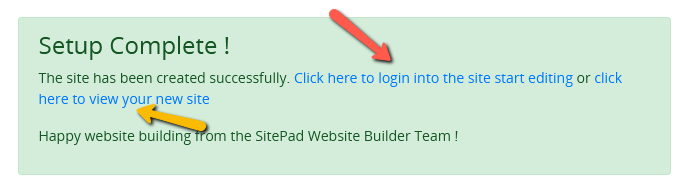
- Congratulations! You have successfully created your website with the theme of your choice!
Now you will be able to view and edit the website by selecting the links provided.
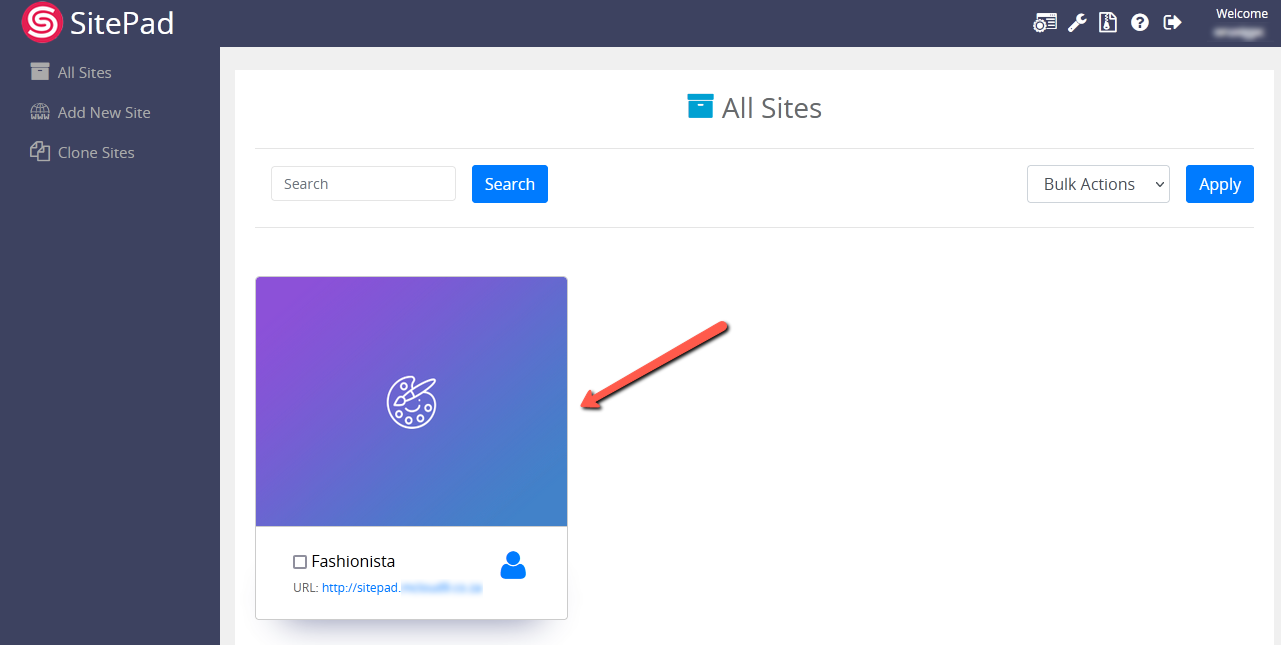
Note: You can easily view and access your website by going back to the “SitePad Website Builder”, choosing your website and selecting the appropriate action you wish to take.
Tip: Learn how to customize your website with SitePad’s documentation and video tutorials.